

Imagine yourself descending into the depths of perilous dungeons, facing formidable foes and daunting challenges at every turn. Welcome to the world of World of Warcraft’s Mythic+ Dungeons! In this thrilling article, we will guide you through each dungeon, equipping you with expert strategies that will help you conquer even the most treacherous encounters.
Prepare to embark on an epic journey through De Other Side, Halls of Atonement, Spires of Ascension, Theater of Pain, Plaguefall, Mists of Tirna Scithe, and Sanguine Depths. Each dungeon presents its own unique set of obstacles and boss battles that demand strategic thinking and precise execution.
With our detailed analysis and knowledge-driven approach, you will learn how to navigate these dungeons efficiently. From controlling dangerous affixes to optimizing your group composition and utilizing powerful abilities – we have got you covered!
So gear up, gather your allies, and get ready for an unforgettable adventure as we dive deep into the Mythic+ Dungeon Guides: Strategies for Each Dungeon in WoW. Prepare to become a master of these challenging realms!
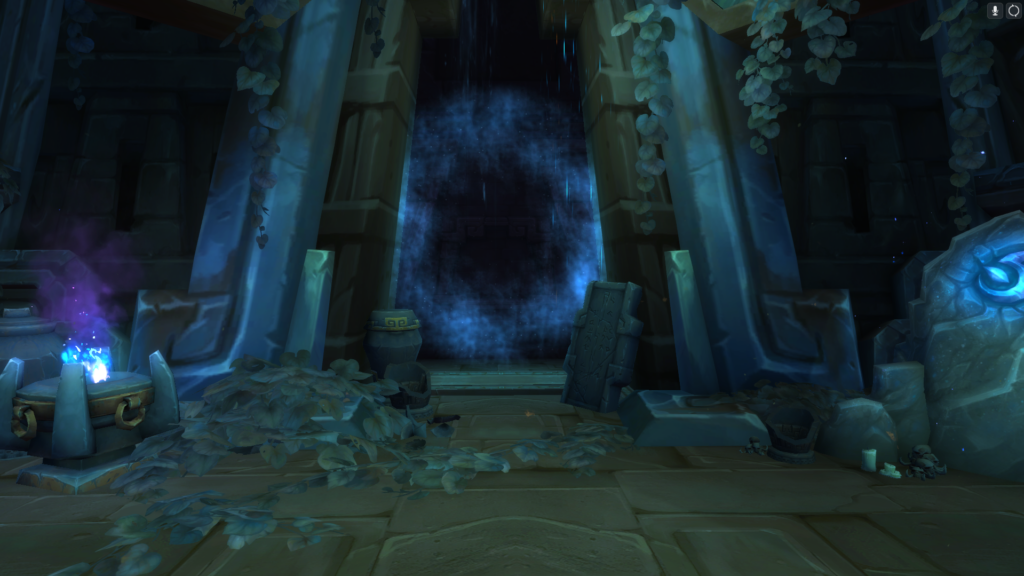
De Other Side
De Other Side is a challenging mythic+ dungeon in WoW, requiring players to navigate intricate puzzles and defeat powerful bosses within the ethereal realm. When dealing with ethereal enemies, it’s crucial to be aware of their abilities and mechanics.
These foes can phase in and out of reality, making them difficult to target. Optimal positioning during the boss fight is key to success in this dungeon. For example, during the Hakkar encounter, it’s important for the tank to position themselves away from other players when targeted by [Blood Barrier]. This prevents unnecessary damage to the group.
Additionally, when fighting Dealer Xy’exa, it’s essential for ranged DPS players to maintain distance from each other due to the [Fixate] ability. Moving smoothly through these encounters requires coordination and adaptability.
Transitioning into the subsequent section about ‘Halls of Atonement’, let’s delve into another challenging mythic+ dungeon in WoW…
Halls of Atonement
In Halls of Atonement, understanding the Anima Drain mechanic is crucial for success. This mechanic drains your mana and health, making it essential to manage your resources effectively.
When facing the Depraved Obliterator, it’s important to have a strategy in place as their abilities can quickly overwhelm you.
Lastly, when tackling Lord Chamberlain, be prepared to handle his various mechanics such as cleansing players of their sins and avoiding his powerful AoE attacks. Stay focused and coordinate with your team to overcome these challenges in Halls of Atonement.
Understanding the Anima Drain Mechanic
To fully grasp the Anima Drain mechanic, you’ll need to be aware that it can drain up to 50% of your maximum health in a matter of seconds. This mechanic is crucial to understand when facing the Ventunax boss in Halls of Atonement. Here are some key points to consider:
- Stay spread out: The Anima Drain affects multiple players within its range, so spreading out will minimize its impact.
- Use defensive cooldowns: Activate your defensive abilities before the Anima Drain hits to mitigate its damage.
- Interrupt and stun: Disrupting the Ventunax’s cast will prevent the Anima Drain from being cast altogether.
- Time your heals: Coordinate with healers to ensure everyone receives healing immediately after the Anima Drain.
- Assign backup healers: In case any healer gets affected by the Anima Drain, assign additional healers for backup support.
Now that you understand how the Anima Drain works, let’s move on to strategies for handling the depraved obliterator.
Strategies for Handling the Depraved Obliterator
One effective way to handle the Depraved Obliterator is by utilizing crowd control abilities to keep it from overwhelming your group. This powerful enemy has devastating abilities that can quickly wipe out your team if not properly managed. To interrupt its dangerous attacks, assign specific players to focus on interrupting and stunning the Obliterator whenever possible. This will prevent it from casting spells that could lead to significant damage or debuffs on your party members. Additionally, positioning during the fight is crucial in order to avoid its frontal cone attack and cleave abilities. Make sure all players are spread out and maintain distance from each other to minimize the impact of these deadly mechanics. By employing these strategies, you’ll increase your chances of success against the Depraved Obliterator.
Now let’s delve into some tips for managing the final boss, Lord Chamberlain, and ensure a smooth run through this challenging dungeon.
Tips for Managing the Final Boss, Lord Chamberlain
When facing off against the final boss, Lord Chamberlain, you’ll need to keep your wits about you and dance through his deadly mechanics like a skilled performer on a tightrope. Managing boss mechanics is crucial in this encounter, as Lord Chamberlain has several abilities that can wipe your group if not handled properly.
One of his most dangerous attacks is Unending Strike, which targets a player and deals massive damage. It’s essential to have a designated player who can soak this attack using defensive cooldowns or immunities.
Additionally, optimizing your group composition is key to success. Having healers with strong AoE healing capabilities can help mitigate the damage from Rite of Supremacy, while DPS players with crowd control abilities can handle the adds spawned by Exsanguinating Bite.
With proper coordination and execution, you can overcome Lord Chamberlain’s challenges and move on to conquer the next dungeon: Spires of Ascension.
Transitioning into our next topic about ‘Spires of Ascension,’ let’s delve into the strategies for navigating this celestial prison.
Spires of Ascension
When dealing with the Kyrian Constructs in Spires of Ascension, it’s crucial to focus on interrupting their abilities. These constructs have powerful spells that can cause significant damage or disrupt your group’s positioning. Make sure to assign specific players to interrupt and stun these enemies to minimize their impact on the fight.
Strategies for handling the Ventunax boss involve careful positioning and coordination among your group members. This boss has a frontal cone attack that deals massive damage, so it’s vital to spread out and avoid standing in front of it. Additionally, be prepared for the boss’s energy orbs, which will track and explode on players if not properly dealt with.
Successfully navigating the Gauntlet event requires precise timing and communication within your team. The event consists of multiple waves of enemies that need to be dispatched quickly while also avoiding hazardous ground effects. Assign roles for interrupting key enemy abilities and coordinate crowd control abilities such as stuns or roots to effectively manage the incoming threats during this intense encounter.
Dealing with the Kyrian Constructs
As the group ventures deeper into the dungeon, they must face the towering Kyrian Constructs with their thundering footsteps and crackling energy. To successfully deal with these formidable foes, it’s crucial to employ effective strategies for interrupting their abilities and optimizing damage against them. Here are four key tactics to consider:
- Interrupt Kyrian Abilities: The Constructs possess powerful spells that can devastate your group. Coordinate interrupts to prevent these abilities from being cast, ensuring the safety of your team.
- Focus Fire: Concentrate your attacks on a single Construct at a time to maximize damage output. This focused assault will quickly whittle down their health bars.
- Utilize Crowd Control: Employ crowd control effects such as stuns or roots to temporarily neutralize additional Constructs while you deal with one at a time.
- Watch Your Positioning: Be mindful of the Constructs’ AoE abilities and position yourselves accordingly to minimize incoming damage.
With these strategies in mind, you can now transition smoothly into the subsequent section about strategies for handling the Ventunax boss.
Strategies for Handling the Ventunax Boss
To conquer the formidable Ventunax Boss, you’ll need to navigate through a treacherous maze of swirling winds and arcane barriers while dodging its deadly lightning strikes. Positioning is crucial when facing this boss. Make sure your group is spread out to mitigate the damage from Ventunax’s Chain Lightning ability, which jumps between players.
Assign a designated tank to handle the boss’s frontal cone attack, as it can deal massive damage if not properly mitigated. Additionally, be prepared for Ventunax’s Wind Burst ability, which creates powerful gusts of wind that can knock players back and potentially off the platform.
To counter these abilities, prioritize interrupting Ventunax’s Arcane Blast cast. This will prevent significant raid-wide damage and buy your group valuable time to recover. Utilize defensive cooldowns during periods of intense damage, such as when Ventunax channels Arcane Fury.
With effective positioning and careful execution of counters, you can overcome the challenges posed by the Ventunax Boss.
Transitioning into tips for successfully navigating the gauntlet event requires a coordinated approach…
Tips for Successfully Navigating the Gauntlet Event
Navigate the gauntlet event with precision and agility to ensure a thrilling experience that keeps you on the edge of your seat. To successfully navigate this challenging event, it’s crucial to focus on managing crowd control and optimizing cooldown usage. Here are some tips to help you master the gauntlet:
- Prioritize Crowd Control: Use stuns, interrupts, and other crowd control abilities to keep enemies at bay and minimize damage taken.
- Coordinate Cooldowns: Communicate with your group to coordinate cooldown usage effectively. Timing powerful abilities can make a significant impact during intense moments.
- Stay Aware of Surroundings: Pay attention to your surroundings and anticipate enemy movements. This will allow you to react quickly and avoid potential threats.
- Plan Your Path: Take time before the event starts to plan your path through the gauntlet. Identify any shortcuts or safe spots that can give you an advantage.
By following these strategies, you’ll be well-prepared for the challenges that await in the gauntlet event. Transitioning into ‘theater of pain,’ get ready for even more thrilling encounters.
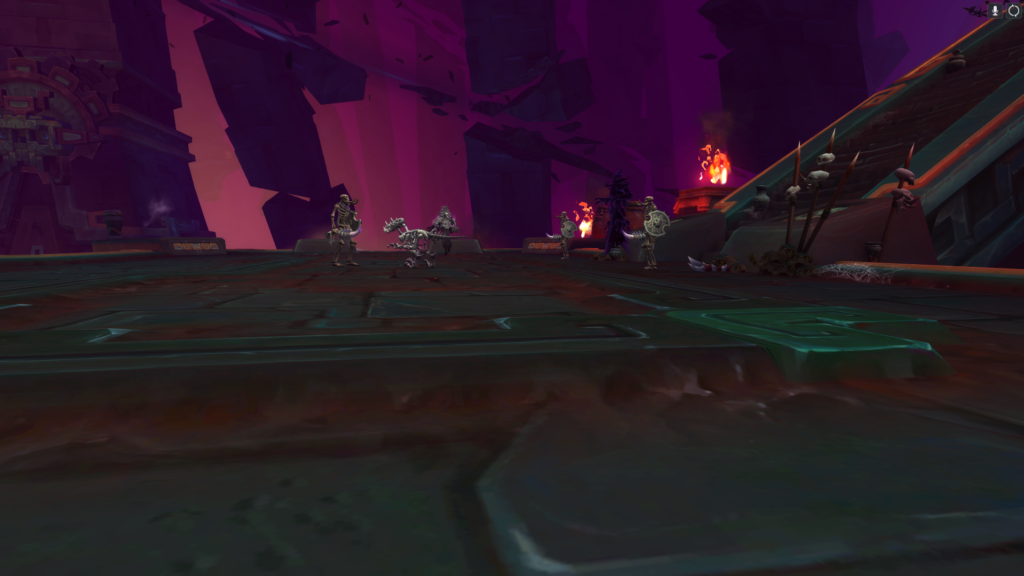
Theater of Pain
In the Theater of Pain, players can face off against a variety of challenging bosses and encounter anachronistic spectacles that add to the overall excitement of the dungeon. Understanding the boss mechanics in Theater of Pain is crucial for success.
The first boss, Kul’tharok, requires tank swaps due to his Raging Tantrum ability. Additionally, players must be mindful of avoiding his Necrotic Bolt attacks.
For maximizing DPS in Theater of Pain, it’s important to prioritize damaging adds during the fight with Gorechop and avoid standing near them when they die to prevent unnecessary damage. In addition, interrupting and dispelling abilities from Xav the Unfallen can greatly increase your group’s damage output.
Transitioning into Plaguefall, players should prepare themselves for a different set of challenges and strategies without losing momentum.
Plaguefall
Prepare to be overwhelmed by the putrid stench and grotesque horrors that await you as you venture deeper into the festering depths of Plaguefall. This dungeon is a cesspool of disease and decay, teeming with slimy creatures ready to devour any unsuspecting adventurer.
To navigate this treacherous environment, here are some key strategies:
- Dealing with slime adds: These slimy creatures will constantly spawn throughout the dungeon. It’s crucial to quickly dispatch them before they overwhelm your group. Utilize AoE abilities and crowd control to keep them in check.
- Optimizing DPS on Domina Venomblade: Domina Venomblade is a formidable boss that requires precise execution. Focus on interrupting her deadly abilities and maximizing your damage during vulnerable phases. Coordinate with your team to ensure a smooth encounter.
As you emerge from the filth-ridden halls of Plaguefall, prepare yourself for the ethereal beauty and mysterious enchantments awaiting in the Mists of Tirna Scithe section.
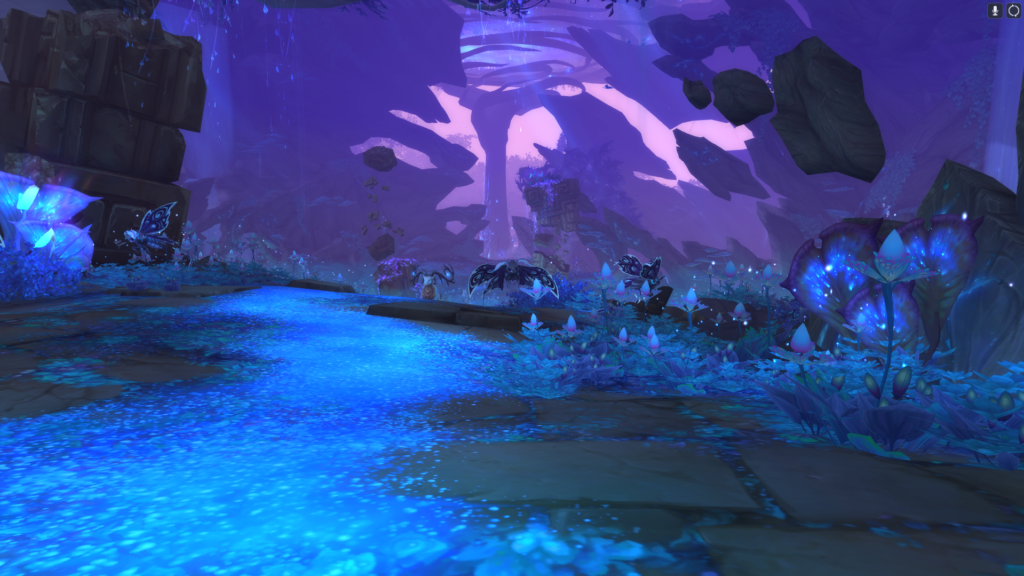
Mists of Tirna Scithe
In Mists of Tirna Scithe, understanding boss mechanics and strategies is crucial for success. The first boss, Ingra Maloch, will periodically spawn adds that need to be quickly killed before they reach him.
The second boss, Mistcaller, requires players to pay close attention to their surroundings and interrupt her dangerous abilities.
Efficiently clearing trash packs in Mists of Tirna Scithe can save you valuable time. Make sure to prioritize killing the Thornshapers as they have a healing ability that can prolong the fight. Additionally, using crowd control on the stealthed Tirnenn Villagers can prevent unexpected damage.
Navigating through the maze-like layout of Mists of Tirna Scithe requires careful planning and awareness. Take note of the different paths and shortcuts available to optimize your route through the dungeon. Utilize your map or follow experienced players who know the most efficient way to progress through each area.
Boss Mechanics and Strategies
Master the boss mechanics and strategies to conquer each dungeon in WoW’s mythic+ mode, where a staggering 85% of groups fail to defeat the final boss on their first attempt. To ensure your success, here are some key tips:
- Dealing with crowd control: Coordinate with your team to effectively use crowd control abilities such as stuns, silences, and interrupts. Interrupting dangerous spell casts or disabling powerful enemy abilities can greatly increase your chances of survival.
- Optimizing DPS rotation: Prioritize your damage-dealing abilities by following an optimal rotation. This will maximize your damage output and help burn down bosses faster. Utilize cooldowns strategically for burst phases or when facing high priority targets.
- Positioning: Pay close attention to boss positioning and mechanics. Some bosses have cleave attacks or area-of-effect abilities that can be devastating if not properly avoided. Stay spread out when necessary and be aware of any environmental hazards.
- Communication is key: Constantly communicate with your team about boss mechanics, cooldown usage, and any potential threats. Clear communication ensures everyone is on the same page and can react accordingly.
By mastering these boss mechanics strategies, you’ll be well-prepared to efficiently clear trash packs in the upcoming section without missing a beat.
Tips for Efficiently Clearing Trash Packs
To efficiently clear trash packs in WoW’s mythic+ mode, it’s crucial to coordinate with your team, utilize crowd control abilities effectively, and prioritize high-priority targets for maximum DPS output.
When pulling mobs, make sure everyone is ready and has their cooldowns available. Assign specific players to handle crowd control techniques such as stuns, interrupts, or roots to keep the mobs under control while the rest of the team focuses on dealing damage.
It’s important to communicate and coordinate which targets should be killed first based on their threat level or dangerous abilities. By efficiently pulling mobs and using crowd control techniques strategically, you can minimize damage taken by your group and maximize your overall efficiency.
This will set you up for success when navigating the maze-like layout of each dungeon section without skipping a beat.
Navigating the Maze-like Layout
Navigate through the maze-like layout of each section, weaving your way through twisting corridors and perilous paths to uncover hidden treasures and defeat formidable enemies. When it comes to optimizing pathfinding in these intricate dungeons, mastering maze-solving techniques is essential.
Pay close attention to the environment, looking for clues such as subtle markings on walls or distinctive architectural features that may indicate the correct path. Additionally, communication with your group is crucial. Discuss potential routes and coordinate movements to avoid getting separated or taking unnecessary detours.
Taking note of landmarks can also help you navigate more efficiently. By familiarizing yourself with each dungeon’s layout and employing smart decision-making skills, you can conquer these challenging mazes with ease.
Now let’s delve into the next adventure: Sanguine Depths.
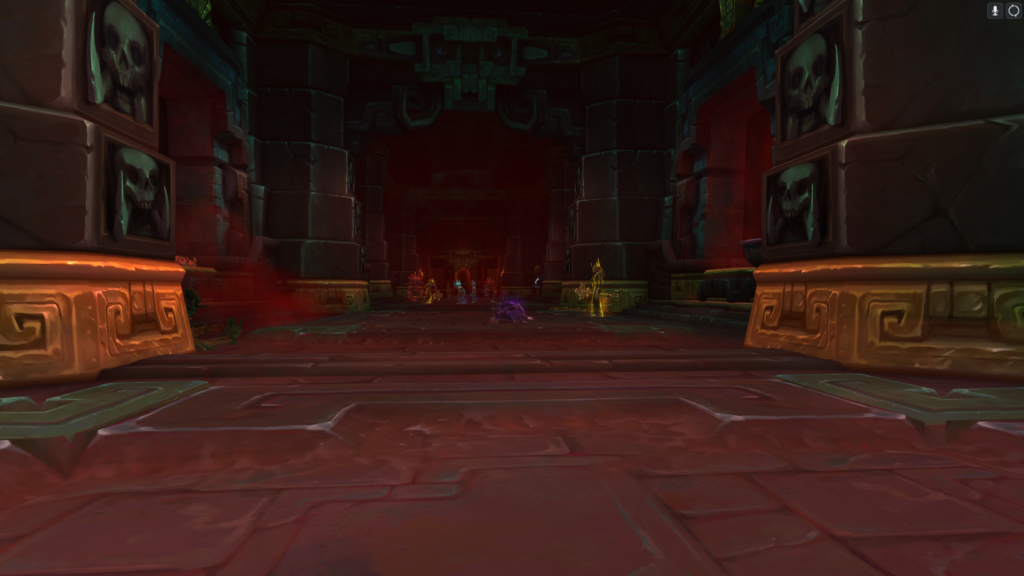
Sanguine Depths
When tackling the Sanguine Depths, it’s crucial to have a solid understanding of the Sanguine Ichor mechanic. This mechanic involves pools of ichor that spawn throughout the dungeon, which need to be avoided as they deal damage and heal enemies.
To handle the General Kaal boss effectively, make sure to prioritize interrupting her abilities and spreading out during certain phases to avoid excessive damage.
Lastly, when facing Executor Tarvold as the final boss, be prepared for his relentless attacks by utilizing defensive cooldowns and coordinating interrupts on his powerful spells.
Keep these strategies in mind to conquer the challenges that await you in the depths of this mythic+ dungeon.
Understanding the Sanguine Ichor Mechanic
Understanding the Sanguine Ichor mechanic is like walking on thin ice, as one wrong step can lead to disastrous consequences in the dungeon. To maximize sanguine ichor usage, it’s crucial to have a solid strategy in place.
First and foremost, coordinate with your team to ensure that each player takes turns soaking the ichor pools. This will evenly distribute the damage taken and prevent any single player from being overwhelmed.
Additionally, communication is key when dealing with this mechanic. Make sure everyone knows when and where the pools will spawn so they can position themselves accordingly.
Lastly, be mindful of your surroundings and avoid standing near other players who are about to soak an ichor pool, as their splash damage can be detrimental if you’re too close.
Understanding these strategies for handling the Sanguine Ichor mechanic sets a strong foundation for tackling the subsequent section about strategies for handling the General Kaal boss.
Strategies for Handling the General Kaal Boss
Conquering the General Kaal boss requires a well-coordinated team, employing clever tactics to overcome her formidable challenges. Here are some strategies for handling the General Kaal boss and tips for managing the final boss mechanics:
- Spread out during Call of Eternity: When General Kaal casts Call of Eternity, make sure your team spreads out to minimize damage taken from overlapping circles.
- Interrupt Dark Recital: It’s crucial to interrupt General Kaal’s Dark Recital ability. Assign specific players to consistently interrupt this ability.
- Avoid Deathwail Blades: Stay away from Deathwail Blades as they can inflict massive damage on players. Be aware of their path and move accordingly.
- Position properly during Wicked Blade: During Wicked Blade, position yourself behind General Kaal or near her sides to avoid taking unnecessary damage.
- Manage adds efficiently: Prioritize killing the adds that spawn during the fight. Use crowd control abilities and focus fire to quickly eliminate them.
With these strategies in mind, you’ll be better equipped to handle the challenges presented by General Kaal. Now let’s move on to some tips for managing the final boss, Executor Tarvold.
Tips for Managing the Final Boss, Executor Tarvold
To successfully overcome the challenges posed by Executor Tarvold, you’ll need to navigate through a dark labyrinth of mechanics, like a skilled adventurer traversing treacherous terrain.
When facing this final boss in the Halls of Atonement dungeon, it’s crucial to have a solid strategy for interrupting Executor Tarvold and managing his adds.
Interrupting Executor Tarvold’s abilities is essential to minimize damage and prevent him from gaining any advantage. Coordinate with your team to assign specific players the task of interrupting certain abilities, ensuring that interrupts are always available when needed. Keep an eye out for his Dark Devastation ability, as interrupting this can save your party from immense damage.
Managing his adds is equally important in this encounter. These adds will spawn periodically throughout the fight and must be dealt with swiftly. Assign DPS players to focus on them while healers keep everyone alive. Utilize crowd control abilities such as stuns and slows to manage their numbers effectively.
By following these strategies for interrupting Executor Tarvold and managing his adds, you’ll increase your chances of emerging victorious from this challenging encounter in Mythic+ dungeons.
Frequently Asked Questions
What are the recommended gear and item level requirements for Mythic+ dungeons?
To tackle mythic+ dungeons in WoW, you’ll need the right gear and item level. Recommended gear and item level requirements vary depending on the dungeon’s difficulty.
Unlocking mythic+ dungeons requires completing a regular version of the dungeon on heroic difficulty. Each class and role has its own unique mechanics to deal with, so make sure your team is well-balanced.
Boss abilities are more challenging than in regular dungeons, demanding precise coordination. In return for your efforts, mythic+ dungeons offer greater rewards and benefits compared to regular ones.
How do I unlock Mythic+ dungeons in World of Warcraft?
To unlock Mythic+ dungeons in World of Warcraft, you need to follow a few steps and meet certain requirements.
First, complete a regular Mythic dungeon to get a Keystone.
Then, find the NPC called ‘Keystone Master’ in Dalaran and start a group with your friends or use the Group Finder tool.
Next, insert the Keystone into the Font of Power in the dungeon you want to run.
To prepare for Mythic+ dungeons, make sure you have appropriate gear and a high item level to handle the challenging content.
Are there any specific class or role requirements for successfully completing Mythic+ dungeons?
To successfully complete Mythic+ dungeons in World of Warcraft, there are specific class and role requirements that need to be considered. Different classes bring unique abilities and strengths to the group, which can greatly impact your chances of success.
Tanks should have good survivability and threat generation, while healers need strong healing capabilities. DPS roles should focus on high damage output and crowd control abilities.
Choosing the right combination of classes and roles is crucial for a smooth run through these challenging dungeons.
Are there any unique mechanics or boss abilities in Mythic+ dungeons that players should be aware of?
While there aren’t specific class or role requirements for mythic+ dungeons, it’s important to be aware of the unique mechanics and boss abilities. These dungeons introduce challenging mechanics, such as affixes that modify how the dungeon functions. It’s crucial to understand these mechanics and adapt your strategy accordingly.
Additionally, each boss has its own set of abilities that can be deadly if not handled properly. Study their patterns, use crowd control effectively, and coordinate with your team to overcome these challenges.
What are the rewards and benefits of completing Mythic+ dungeons, and how do they differ from regular dungeons?
The rewards and benefits of completing mythic+ dungeons in WoW are significant and differ from regular dungeons.
By optimizing your time, you can earn higher level gear, including powerful items with unique effects. Additionally, mythic+ dungeons offer a chance to obtain exclusive mounts and achievements.
The rewards increase as you tackle higher dungeon levels, with better loot and more challenging content. It’s important to strategize efficiently to maximize your chances of obtaining these valuable rewards.
Conclusion
In conclusion, mastering the mythic+ dungeons of World of Warcraft requires meticulous planning, precise execution, and unwavering determination.
From navigating the treacherous halls of Halls of Atonement to unraveling the mysteries of Mists of Tirna Scithe, each dungeon presents its own unique challenges that demand your utmost skill and coordination.
By utilizing the strategies outlined in this guide, you’ll overcome every obstacle with confidence and triumph over even the most formidable foes.
So gather your allies, sharpen your blades, and embark on an epic adventure through these mythic realms. The glory awaits!
Visit now and immerse yourself in a world of intriguing thoughts and ideas. Your journey of discovery awaits at here.
Leave a Reply